Si vous cherchez à configurer un capteur de température dans Delta PLC à l'aide de WPLSoft, tu es au bon endroit. La mise en place d’une surveillance précise de la température est cruciale pour une automatisation fiable, que ce soit dans le secteur de la fabrication, CVC, ou contrôle de processus. Dans ce guide, nous allons vous montrer comment connecter votre capteur, gérer l'adressage des modules, et programmez votre automate Delta étape par étape avec WPLSoft, vous obtenez donc des lectures précises à chaque fois. Prêt à simplifier la configuration de votre capteur de température et à améliorer les performances de votre système? Plongeons-nous.
De nombreux ingénieurs ont du mal avec les entrées de température du Delta PLC affichant des valeurs erronées., lectures instables, ou pas de signal du tout. Ce guide vous guide dans la sélection des capteurs, câblage, Configuration WPLSoft et réglage PID pour que votre automate Delta lit la température avec précision et maintienne la stabilité de votre processus..
Notions de base sur le capteur de température Delta PLC: Thermocouple contre PT100 (Lequel devriez-vous utiliser?)
Lorsque vous travaillez avec des automates Delta, Il est crucial de bien configurer votre capteur de température pour obtenir des lectures fiables et précises.. Beaucoup d'entre nous se demandent: Quels capteurs de température sont compatibles avec les automates Delta? et Quelles sont les principales différences entre les thermocouples et les RTD? Décomposons-le clairement.
Types de capteurs de température compatibles avec Delta PLC
Les automates Delta prennent en charge deux principaux types de capteurs de température:
- Thermocouples: Ces capteurs génèrent une tension basée sur les différences de température. Ils conviennent parfaitement à une large plage de températures et à une réponse rapide, mais nécessitent une compensation de soudure froide..
- RTD (Détecteurs de température à résistance): Les RTD comme le PT100 offrir une plus grande précision et stabilité en mesurant les changements de résistance. Ils sont plus lents mais plus précis, parfait pour les environnements industriels contrôlés.
Thermocouples vs RTD
| Fonctionnalité |
Thermocouples |
RTD (PT100) |
| Plage de température |
-200°C à 1800°C |
-200°C à 850°C |
| Précision |
Modéré |
Haut |
| Temps de réponse |
Rapide |
Ralentissez |
| Signal de sortie |
Tension |
Résistance |
| Utilisations typiques |
Haute température, changements rapides |
Contrôle de précision, stabilité |
Modules Delta clés pour l'entrée de température
Pour intégrer ces capteurs à votre automate Delta, vous aurez besoin du bon module d'entrée. Les modules de température Delta les plus populaires sont:
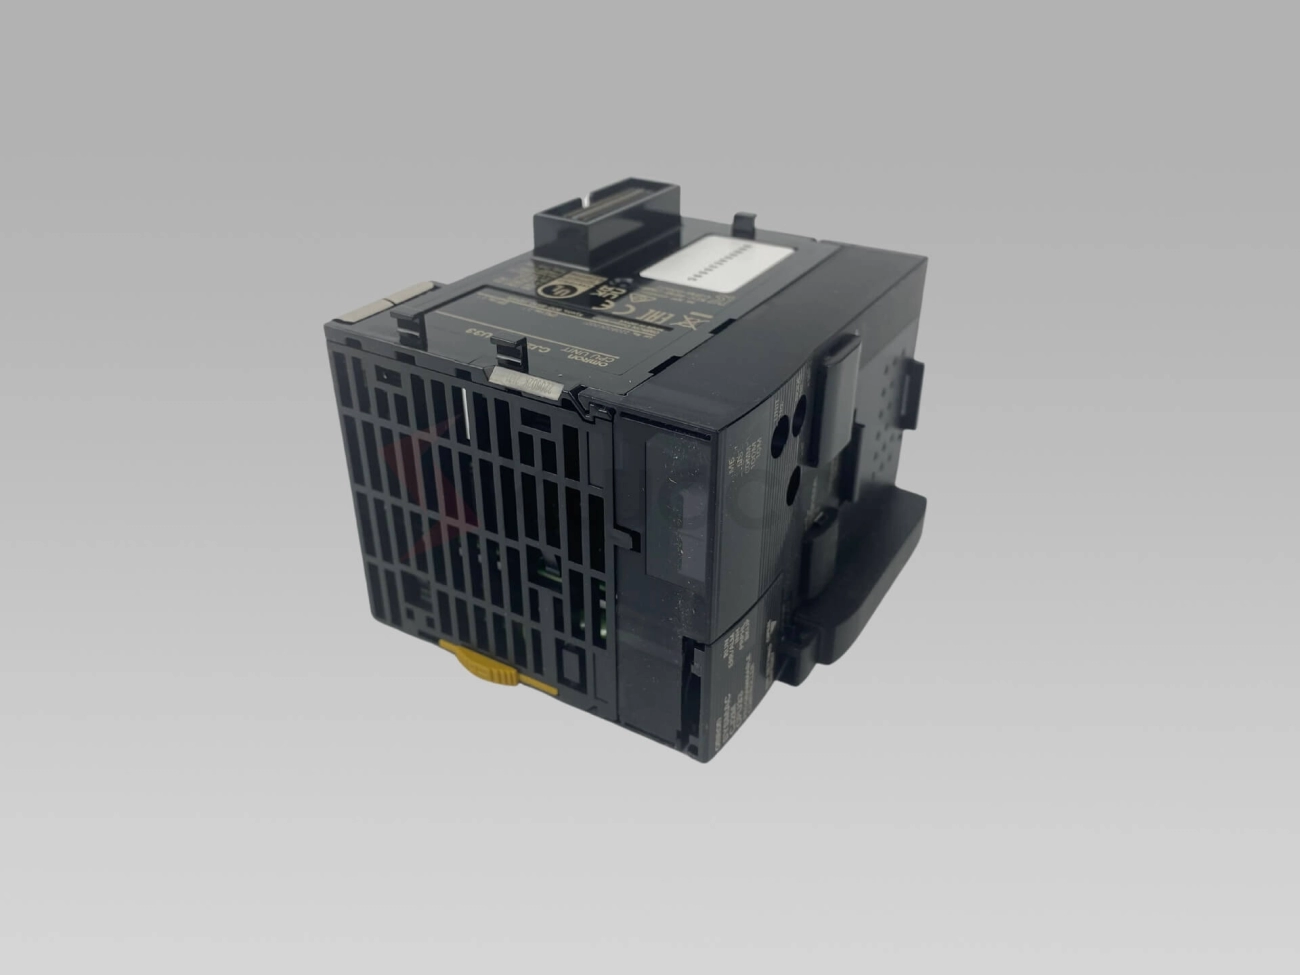
- DVP04TC-S: Conçu pour les thermocouples, ce module à 4 canaux prend en charge plusieurs types TC pour des configurations flexibles.
- DVP04PT-S: Dédié aux entrées RTD PT100, ce module à 4 canaux assure des lectures précises pour les capteurs de résistance.
Comprendre ces bases vous aide à choisir la bonne combinaison de capteur et de module pour votre projet. Suivant, nous verrons comment connecter ces capteurs et les configurer à l'aide de WPLSoft.
Suivez cette section si vous souhaitez une liste de contrôle de câblage claire pour les thermocouples et les capteurs PT100 sur les modules de température Delta DVP sans endommager votre API..
Comment câbler des capteurs de température aux modules PLC Delta (DVP04TC‑S / DVP04PT‑S)
Avant de câbler votre capteur de température à un automate Delta, avoir les bons outils et suivre les mesures de sécurité est crucial pour garantir une installation réussie et éviter les dommages.
Outils requis et précautions de sécurité
-
-
Outils nécessaires
Jeu de tournevis isolés
Pince à dénuder et coupe-fil
Multimètre pour contrôles de continuité et de tension
Fil approprié pour les connexions du capteur
Bornier ou connecteur selon les besoins
Conseils de sécurité
Mettez toujours hors tension l'automate et les circuits des capteurs avant de commencer tout câblage.
Vérifiez la mise à la terre appropriée pour éviter le bruit et les interférences électriques
Vérifiez votre câblage par rapport aux manuels du module pour éviter tout dommage.
Utilisez des outils isolés pour réduire les risques de courts-circuits ou de chocs
Suivez les codes électriques locaux pour les environnements industriels
Instructions de câblage étape par étape
Identifiez votre type de capteur
Confirmez si vous utilisez un thermocouple (comme le type K) ou capteur RTD (comme le PT100). Cela affecte le câblage et le choix du module.
-
Choisissez le bon module Delta
Utilisez des modules conçus pour l'entrée de température tels que le DVP04TC-S pour les thermocouples ou le DVP04PT-S pour les RTD PT100..
- Câblage des thermocouples (DVP04TC-S)
- Connectez les fils du thermocouple aux bornes d'entrée spécifiées sur le module (généralement étiqueté TC+ et TC-)
- Utilisez si possible un câble blindé pour réduire le bruit
- Ajoutez une compensation de soudure froide si votre application l'exige
- Câblage RTD (DVP04PT-S)
- Connectez les fils du capteur PT100 aux bornes RTD dédiées du module
- Assurez-vous du câblage correct pour les appareils à 2 fils., 3-fil, ou configurations RTD à 4 fils basées sur votre capteur
- Utilisez des câbles à paires torsadées pour minimiser les interférences
- Connectez l'alimentation et la terre
- Assurez-vous que l’alimentation électrique du module est stable et correctement mise à la terre
- Vérifiez que toutes les masses du capteur sont reconnectées au commun du PLC pour éviter les boucles de masse.
- Vérification finale
- Vérifiez toutes les connexions avant de mettre sous tension
- Utilisez un multimètre pour tester la continuité et corriger les chemins de câblage
Un câblage approprié est la base de lectures de température précises et de performances fiables du capteur Delta PLC.. Si vous préférez, consultez les options de capteurs comme le Capteur DT50 malade qui peut être intégré pour des tâches spécifiques de surveillance de la température.
Installation et préparation de WPLSoft pour la configuration
Avant de pouvoir configurer votre capteur de température Delta PLC, vous devez configurer WPLSoft, le logiciel de programmation officiel pour les automates Delta. Voici un guide rapide pour vous aider à démarrer.
Téléchargement de WPLSoft depuis Delta
-
-
- Visitez le site Web de Delta Electronics ou des distributeurs agréés pour télécharger gratuitement la dernière version de WPLSoft.
- Choisissez la version compatible avec votre système Windows (généralement Windows 10 ou plus tard).
- Suivez l'assistant d'installation pour terminer la configuration sur votre ordinateur.
Configuration de votre projet dans WPLSoft
Une fois WPLSoft installé:
-
-
- Ouvrez le logiciel et sélectionnez « Nouveau projet ».
- Choisissez le bon modèle d'automate correspondant à votre matériel, comme la série DVP.
- Définissez votre type de processeur et vos paramètres de communication en fonction de votre appareil.
Établir la communication avec l'automate
Pour un bon déroulement du projet, vous devrez communiquer avec le matériel PLC réel.
-
-
- Connectez votre automate à votre PC à l'aide du câble de programmation (généralement USB ou RS232).
- Dans WPLSoft, aller à Communication paramètres, sélectionnez le bon port COM ou les bons paramètres réseau.
- Utilisez le "En ligne" mode pour tester la connexion.
- Téléchargez ou téléchargez des programmes pour vous assurer que le lien fonctionne avant de configurer le capteur de température.
Bien établir cette base permet d'éviter des problèmes ultérieurs lors de l'augmentation de votre configuration d'entrée de température ou de l'ajout d'un contrôle avancé de la température à l'aide de la logique PID.. Si vous avez besoin de composants fiables pour compléter votre projet, vérifiez les capteurs comme le Capteur malade DT35 qui s'intègrent bien aux systèmes PLC.
Suivez ces étapes pour vous assurer que WPLSoft lit la valeur de température correcte à partir de votre module DVP04TC‑S ou DVP04PT‑S au lieu de la valeur brute., des chiffres dénués de sens.
Configuration du capteur de température dans WPLSoft
Une fois votre capteur de température connecté à l'automate Delta, il est temps de le configurer dans WPLSoft pour des lectures précises.
Étapes de programmation de base
-
-
- Ouvrez votre projet dans WPLSoft et connectez-vous à l'automate.
- Accédez au module d'entrée analogique paramètres où votre capteur de température est connecté.
- Assurez-vous que le bon type de module (comme le DVP04TC-S pour les thermocouples ou le DVP04PT-S pour les RTD) est sélectionné.
Adressage du module et configuration des paramètres
-
-
- Chaque entrée analogique possède un adresse dans l'automate (Par exemple, AI0, AI1).
- Attribuez le bon canal où l'entrée de votre capteur est câblée.
- Réglez le type de capteur dans les paramètres du module : sélectionnez le type exact de thermocouple (K, J., etc.) ou type RTD (PT100).
- Configurez le plage d'entrée en fonction des spécifications de votre capteur (plage de tension ou de résistance).
Mise à l'échelle et calibrage des entrées analogiques
-
-
- Les données brutes du capteur sont généralement fournies en volts ou en valeurs de résistance, donc tu dois mettre à l'échelle ces entrées à des unités de température significatives (°F ou °C).
- Utilisez le fonction de mise à l'échelle dans WPLSoft pour convertir les valeurs analogiques brutes en température:
- Entrez le plage d'entrée (signal de capteur minimum et maximum)
- Entrez le correspondant plage de température (comme 0 à 100°C)
- C'est une bonne idée de étalonner en comparant avec une mesure de température connue et en ajustant l'échelle jusqu'à ce que les valeurs correspondent.
Cette configuration garantit que votre automate Delta lit correctement votre capteur de température., fournir des données fiables pour la surveillance ou le contrôle.
Pour plus de conseils sur l’intégration des capteurs, consultez notre guide sur Intégration de l'automate Delta PT100 RTD.
Implémentation d'une logique de contrôle de la température dans WPLSoft
Une fois que votre capteur de température est configuré et lit correctement dans WPLSoft, l'étape suivante consiste à gérer les données de température à des fins de contrôle et de surveillance.
Lecture analogique de base et enregistrement des données
Commencez par programmer votre automate pour lire l'entrée analogique du module de température:
-
-
- Utilisez le approprié instructions d'entrée analogique pour capturer les données du capteur.
- Mettez à l'échelle l'entrée brute en fonction de votre type de capteur (thermocouple ou RTD) en utilisant des formules prédéfinies ou des tables de recherche.
- Stockez les valeurs de température dans des registres ou des emplacements de mémoire de données pour une surveillance continue.
- Créez des routines simples d'enregistrement des données qui assurent le suivi de la température au fil du temps pour l'analyse des tendances ou les alarmes..
Cette configuration de base vous aide à garder un œil sur les changements de température et à vous préparer à la logique de contrôle..
Contrôle PID avancé pour une régulation précise
Pour un contrôle de température de niveau industriel, PID (Proportionnelle-Intégrale-Dérivée) la logique est votre meilleur choix. WPLSoft prend en charge la mise en œuvre du PID directement dans votre automate Delta:
-
-
- Configurer Blocs fonctionnels PID disponible dans WPLSoft pour affiner la façon dont l'API ajuste les sorties en fonction des lectures de température.
- Définir les paramètres du système tels que la température de consigne, limites de sortie, et constantes de réglage (P., je, D).
- Utilisez le PID pour contrôler avec précision les éléments de chauffage/refroidissement, assurer des conditions stables.
- Combinez le PID avec des alarmes ou des seuils de sécurité pour une fiabilité accrue.
L'utilisation appropriée du contrôle PID vous permet d'automatiser la régulation de la température dans des processus tels que l'usinage CNC ou le CVC avec une grande précision..
En maîtrisant la lecture des entrées analogiques et la programmation PID dans WPLSoft, vous obtenez un contrôle total sur la gestion de la température dans vos projets Delta PLC. Pour les options de capteurs industriels, découvrez des produits fiables comme le Capteur malade DT50 pour compléter votre configuration.
Si votre capteur de température Delta PLC n'affiche aucun signal ou saute de manière aléatoire, cette section de dépannage vous aide à trouver rapidement le câblage, problèmes de configuration ou d’étalonnage.
Le capteur de température Delta PLC ne lit pas correctement? Guide de test et de dépannage
Une fois que votre capteur de température est connecté et configuré dans votre automate Delta à l'aide de WPLSoft, il est important de tester et de dépanner pour s'assurer que tout se passe bien. Voici comment vérifier et optimiser votre configuration pour la fiabilité industrielle.
Techniques de vérification
-
-
- Vérifier les lectures du capteur: Utilisez l'outil de surveillance de WPLSoft pour afficher les valeurs de température en temps réel de votre capteur.
- Comparer avec une référence connue: Utilisez un thermomètre portatif ou un autre capteur fiable pour confirmer l'exactitude.
- Tester la stabilité du signal: Surveillez l'entrée analogique au fil du temps pour détecter toute fluctuation ou bruit inhabituel..
- Exécuter la routine d'étalonnage: Ajustez les paramètres de mise à l'échelle dans votre programme jusqu'à ce que la température signalée corresponde à votre référence..
Problèmes courants et correctifs
-
-
- Pas de signal ou lecture zéro:
- Confirmez le câblage correct de votre capteur (DVP04TC-S pour les thermocouples ou DVP04PT-S pour les RTD PT100).
- Vérifier l'alimentation du module et la communication PLC.
- Vérifier l'adresse et la configuration du module dans WPLSoft.
- Valeurs erratiques ou incorrectes:
- Inspectez le câblage pour déceler des connexions desserrées ou des interférences..
- Assurez-vous que le type de capteur correct est sélectionné dans votre configuration.
- Effectuer un recalibrage si nécessaire.
- Le capteur ne répond pas:
- Remplacez le capteur ou utilisez un simulateur de test.
- Examinez les paramètres d’alarme de température ou de défaut dans votre programme.
Optimisation des performances pour la fiabilité industrielle
-
-
- Filtrage du bruit: Implémentez des filtres logiciels ou des fonctions de lissage pour éliminer le bruit des capteurs.
- Calibrage régulier: Planifiez un étalonnage périodique en fonction de la tolérance de votre application.
- Sauvegarde et journalisation: Conservez les données de journal et les configurations de sauvegarde à l'aide de la mémoire de l'automate ou d'un stockage externe pour l'historique de dépannage..
- Ajustements du contrôle PID: Ajustez les paramètres PID dans WPLSoft pour une régulation de température stable et précise, notamment dans les environnements industriels nécessitant un contrôle strict.
Suivre ces étapes vous aidera à maintenir une surveillance précise et fiable de la température dans votre système Delta PLC., garantir des opérations fluides et des temps d’arrêt minimes dans les environnements industriels.
Applications du monde réel et études de cas
L'utilisation des modules de température Delta PLC avec WPLSoft n'est pas seulement une question de théorie : elle a été prouvée dans des configurations réelles dans diverses industries.. Un exemple frappant est celui de Surveillance de la température d'usinage CNC. Un contrôle précis de la température dans les machines CNC est essentiel pour éviter l'usure des outils et maintenir la qualité du produit.. Le module Delta DVP04TC-S se connecte facilement aux thermocouples de votre machine, introduire des données en temps réel dans l'automate. Cela aide les opérateurs à surveiller de près l'accumulation de chaleur, éviter les temps d'arrêt et les réparations coûteuses.
Une belle illustration de ceci est DouMiCNC, une entreprise centrée sur l'utilisateur qui exploite les capteurs de température Delta PLC pour améliorer la précision et la répétabilité de ses opérations CNC. En intégrant les modules analogiques de Delta et en utilisant WPLSoft pour la configuration, DouMiCNC réalise un suivi fin des variations de température, les aidant à maintenir des tolérances de fabrication strictes.
Pour les installations plus grandes ou plus complexes, mise à l'échelle configurations de température multicanaux est un processus fluide grâce à l’approche modulaire de Delta. Vous pouvez empiler plusieurs modules DVP04TC-S ou DVP04PT-S pour surveiller plusieurs capteurs à la fois, ce qui est parfait pour les environnements industriels comme le moulage du plastique ou la transformation des aliments., où plusieurs points nécessitent un suivi de température constant. Cette configuration flexible se marie bien avec la capacité de WPLSoft à gérer les entrées analogiques, effectuer une mise à l'échelle, et appliquez le contrôle PID à chaque canal individuellement.
Dans , que vous utilisiez un seul outil CNC ou que vous gériez une ligne de production à grande échelle, Les modules de température Delta PLC combinés à WPLSoft offrent une fiabilité, solutions évolutives de surveillance de la température adaptées aux besoins industriels américains.