If you’re responsible for plant uptime, you know that servo motor failures mean costly downtime and expensive repair bills that can kill your budget. What if you could slash those repair costs by 60-80% and get your motors back online faster—without relying on third-party shops? That’s exactly why more maintenance teams are learning how to perform servo motor repairs in-house in 2025 and beyond.
In this guide, you’ll get a practical, no-fluff look at what it takes to confidently troubleshoot and fix common servo motor issues right on your shop floor. From bearing replacements to encoder repairs, plus the critical tools and safety steps you need—this is your shortcut to cutting downtime and building serious internal expertise.
Ready to save time, money, and headaches by mastering in-house servo repair? Let’s get started.
Understanding Servo Motor Construction & Common Failure Modes
Before you dive into repairs, you need to know what you’re dealing with. Servo motors come in two main flavors: permanent magnet and induction types. Permanent magnet servos use strong magnets in the rotor, offering high efficiency and quicker response. Induction servos rely on electromagnetic fields to induce rotor currents, making them tougher but sometimes less precise.
Key Components to Know
- Stator: The stationary outer shell with windings—your motor’s power delivery hub.
- Rotor: Rotates inside the stator; in permanent magnet motors, it includes magnets.
- Encoder/Feedback Device: The eyes and ears of the servo, providing position and speed feedback.
- Bearings: Support the rotor, allowing smooth spinning—wear here is a common pain point.
- Brake: Found in many servos for holding position safely when powered off.
- Connectors & Cables: The motor’s lifelines, connecting it to the controller.
Top 8 Failure Modes to Watch
- Bearing Failure: Most frequent culprit. Worn or contaminated bearings lead to noisy, overheated motors.
- Encoder or Resolver Faults: Dirty or damaged feedback devices cause erratic positioning or loss of signal.
- Winding Insulation Breakdown: Electrical shorts or reduced insulation resistance can knock out the motor.
- Magnet Degradation: Permanent magnets lose strength over time or due to heat, reducing torque.
- Brake Failure: Brake pads wear or brake coils short, risking unexpected motor movement.
- Cable or Connector Damage: Frayed wires or loose connectors cause intermittent faults or total loss of signal.
- Overheating & Contamination: Dust, oil, or moisture ingress plus overheating ruins insulation and bearings.
- Shaft & Keyway Damage: Bent shafts or damaged keyways result in vibrations, noise, and premature failures.
Knowing these inside out means you can pinpoint issues faster and avoid wild goose chases. Next, we’ll talk tools—the gear you need to prove what’s going on inside that motor.
Essential Tools & Test Equipment for In-House Repair
To effectively perform servo motor repairs in-house, having the right tools and test equipment is a must. Your setup can range from a basic $5,000 station to a more advanced $15,000 repair bench, depending on the level of diagnostics and repair you plan to handle.
Must-Have Tools
- Multimeter & Insulation Tester: Brands like Fluke and Megger are industry standards for accurate winding resistance and megger testing.
- Bearing Pullers & Presses: Essential for servo motor bearing replacement without causing damage.
- Oscilloscope: For back EMF testing and surge analysis during troubleshooting.
- Encoder Testers: To diagnose and verify feedback device function, including encoders and resolvers.
- Basic Hand Tools: Including torque wrenches, screwdrivers, and pliers designed for precision work.
Nice-to-Have Additions
- Vibration Analyzer: Helps catch bearing wear and imbalance early.
- Thermal Imager: Useful for spotting overheating or contamination issues.
- Servo Motor Test Bench: Brands like Doumi provide specialized test benches that simulate operating conditions, making detailed diagnostics easier and safer.
Building Your Repair Station
- A solid mid-range setup with tools from Fluke, Megger, SKF, and a Doumi test bench can fit into the $5k–$15k budget.
- Consider gradually upgrading tools to spread out costs and improve diagnostics as your team’s skills grow.
For precise sensor diagnostics, integrating products like the SICK DT35 sensor into your workflow can improve encoder fault diagnosis and servo motor troubleshooting steps.
Having the right tools upfront reduces downtime and enhances your ability to confidently perform in-house servo motor repairs.
Safety First: Lockout-Tagout & Electrical Precautions
When performing in-house servo motor repairs, safety is your top priority. Servo systems store high voltages that can cause serious injury if not handled correctly. Always follow lockout-tagout (LOTO) procedures tailored for servo motors to ensure the power source is completely isolated before starting any work.
Key LOTO steps for servo systems:
- Shut down the servo drive and disconnect main power.
- Apply lockout devices and clearly tag the power source.
- Verify the system is de-energized using a reliable voltage tester.
- Make sure no stored energy remains by discharging servo drive capacitors—these can hold a dangerous charge for minutes or longer after power off.
Don’t overlook the importance of wearing the right personal protective equipment (PPE): insulated gloves, eye protection, and anti-static wrist straps to prevent ESD damage to sensitive electronics.
Following these precautions not only protects you but also helps maintain the integrity of the servo motor components during repair. For test equipment and safe handling accessories, trusted brands like Fluke and Megger provide reliable tools designed for these tasks.
For more on compatible tools and test benches to streamline your repair station, check out servo motor-focused solutions like CNC Domi’s Fanuc absolute encoder and drive products that meet industry safety standards.
Step-by-Step Diagnostic Process
Performing a thorough diagnostic is key to successful servo motor repair. Start with a visual and mechanical inspection to check for obvious damage like wear on the shaft, loose connectors, or contamination on the bearings. Look closely for signs of overheating or physical damage.
Next, move to electrical tests:
- Insulation resistance testing with a megger helps detect winding leaks or insulation breakdown.
- Winding resistance and inductance testing reveal shorted turns or open circuits inside the motor.
For feedback systems, test the encoder, resolver, or SinCos feedback devices. These sensors are critical for precise servo control, so ensure they’re clean, properly aligned, and providing accurate signals.
Use back-EMF and surge testing to assess the motor’s internal electrical health—these tests help identify shorts or winding faults not visible through basic resistance checks.
Deploy tools like oscilloscopes and servo analyzers to capture real-time signals, check waveform integrity, and verify the motor’s response under test conditions.
Following this step-by-step diagnostic flow avoids guesswork, reduces downtime, and ensures you pinpoint the root cause of servo problems before repairs. Consider integrating a dedicated servo motor test bench from trusted brands like Doumi to streamline this entire process with professional accuracy.
Most Common In-House Repairs You Can Perform
When it comes to in-house servo repair, some tasks are straightforward and cost-effective to handle internally. Here are the most common repairs that about 70% of technicians successfully perform:
- Replacing Bearings: Bearing failure is the top cause of servo motor issues. Swapping them out restores smooth operation quickly and is a skill worth mastering.
- Encoder Replacement & Realignment: Encoder faults often cause feedback errors. Replacing and properly realigning encoders can be done effectively in-house—video guides help technicians get this right the first time.
- Connector and Cable Repair/Replacement: Damaged wires or connectors lead to intermittent faults. Repairing or replacing these is simple with the right tools and is critical for maintaining signal integrity.
- Brake Repair or Replacement: Servo brakes wear over time. Replacing worn brakes in-house prevents unplanned downtime without needing expensive service calls.
- Cleaning & Re-greasing: Dirt and old grease cause overheating and wear. Regular cleaning with proper lubricants keeps motors running smoother longer.
- Shaft Repair (Straightening, Keyway Fix): Minor shaft damage like bent shafts or keyway wear can be corrected on-site if you have the proper tools and experience.
- Thermal Sensor (PTC/NTC) Replacement: Thermal sensors monitor winding temperature. Swapping out faulty sensors is generally safe and helps avoid motor damage.
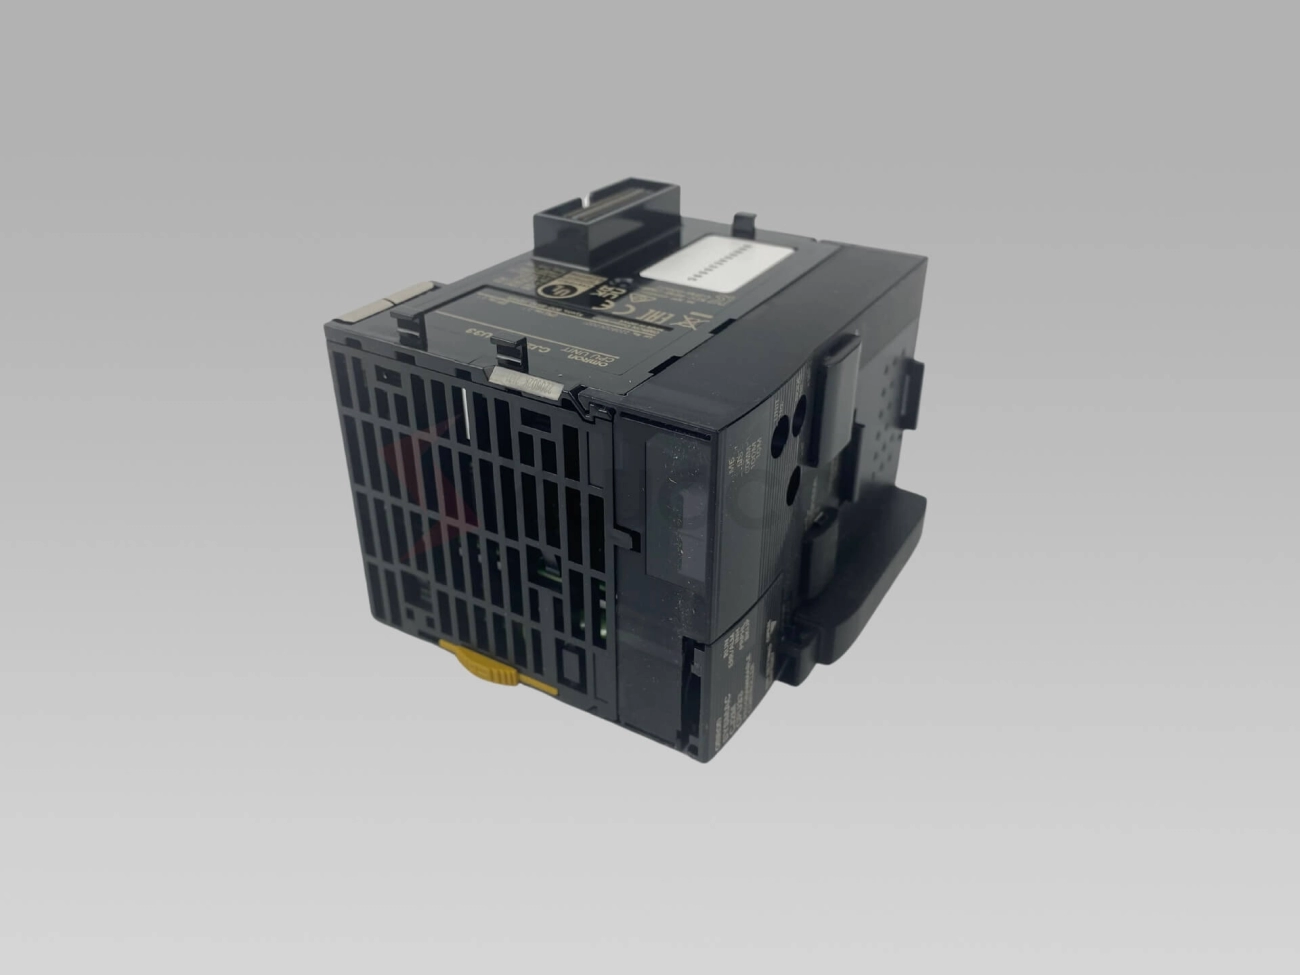
Tackling these repairs in-house not only reduces downtime but also cuts costs dramatically. For examples of relevant hardware such as high-quality connectors or encoders, suppliers like Siemens Simatic S7 digital input modules offer reliable components that help maintain system integrity.
Focusing on these common fixes equips your team to handle most servo motor issues without waiting on external service providers.
Repairs You Should NOT Attempt In-House (Red Flags)
While many servo motor repairs can be handled internally, some tasks are best left to specialists. Avoid attempting these complex repairs in-house to prevent further damage or safety risks:
- Stator Rewinding: This process requires precision winding machines and specialized knowledge. A poorly rewound stator can cause serious performance issues or motor failure.
- Rotor Magnet Re-Magnetization or Replacement: Handling permanent magnets demands expert equipment and strict safety protocols. Incorrect remagnetization may weaken motor torque or cause imbalance.
- Major Rotor/Stator Lamination Damage: Severe damage to laminations affects magnetic properties and overall motor efficiency. Professional repair or replacement is necessary here.
- High-Precision Balancing After Rotor Work: After any rotor repair, the motor must be dynamically balanced to avoid vibrations and premature bearing wear. This balancing requires expensive machinery and experienced technicians.
If you encounter any of these red flags, it’s wise to partner with a trusted service center or manufacturer. Staying within your team’s competency helps reduce downtime and ensures your industrial servo motor maintenance stays reliable.
For more on reliable feedback devices and servo motor parts, check out our selection of Heidenhain encoder products and industrial connectors.
Preventive Maintenance Schedule to Avoid Repairs
A solid preventive maintenance schedule is key to reducing costly servo motor repairs and downtime. Here’s a straightforward plan to keep your servo motors running smoothly:
Quarterly Tasks
- Visual inspection: Check for dust, debris, and moisture on motor surfaces and connectors.
- Clean and lubricate bearings: Use recommended grease to avoid premature bearing failure.
- Inspect cables and connectors: Look for wear, cracks, or loose connections.
Bi-Annual Tasks
- Vibration analysis: Monitor vibration levels to detect early bearing or imbalance issues. Keep an eye on threshold limits—typically under 2.8 mm/s RMS for smooth operation.
- Encoder & feedback inspection: Test encoder signals and resolver outputs for accuracy.
- Brake function test: Ensure brakes engage and release properly without sticking.
Annual Tasks
- Thermal imaging inspection: Use an infrared camera to spot hotspots or uneven heating, which can reveal winding or bearing problems before they fail.
- Insulation resistance test: Perform megger testing to confirm winding insulation health and prevent shorts.
- Mechanical checks: Verify shaft alignment and keyway condition; address any noticeable wear or damage.
Consistent use of thermal imaging and vibration monitoring provides early warnings that help reduce servo downtime. A well-maintained motor not only lasts longer but keeps your operations running without unexpected stops.
For reliable parts and test equipment to support your maintenance program, check out trusted suppliers with options like the Yaskawa SGMAV series servo motors and compatible diagnostic gear.
Following these preventive steps saves time and repair costs, letting you focus on production instead of surprises.
Training Your Team: Building Long-Term Competency
Building a skilled in-house team for servo motor repairs means investing in proper training and clear work processes. Start with recommended courses from industry leaders like Siemens, Rockwell, and Doumi Academy, which offer practical training tailored to servo motor troubleshooting, maintenance, and repair. These courses sharpen your team’s ability to diagnose encoder faults, perform bearing replacements, and handle feedback device testing with confidence.
Next, create detailed, easy-to-follow standard work instructions that cover routine repairs and preventive maintenance. This ensures consistency across technicians and reduces errors during complex repairs like servo brake repair or cable replacements.
Finally, establish a certification path for your technicians. Certification programs not only validate skills but also motivate your team to keep up with evolving technologies. This approach is key for maintaining a high level of competency, which ultimately reduces servo downtime and increases your facility’s productivity.
For honing skills on specific equipment, consider resources linked to trusted products like the Siemens breakers supplier or advanced servo drives that your team will service regularly.
Cost-Benefit Analysis: In-House vs. Outsourced Repair
Deciding whether to handle servo motor repairs in-house or outsource them depends heavily on your operation’s size, skill level, and downtime costs. Real case studies from manufacturing, robotics, and automation industries show that companies investing in an in-house servo repair station can reduce downtime by up to 40%, saving thousands annually in lost productivity.
Key Benefits of In-House Repairs:
- Faster turnaround times – no shipping delays or third-party wait.
- Control over repair quality – direct oversight of technician skills and testing.
- Lower long-term costs – once your repair station is set up (typically $5k–$15k), ongoing expenses drop significantly.
- Immediate troubleshooting – including quick bearing replacements, encoder fixes, and brake repairs.
However, initial capital investment and staff training are required. Smaller setups with low volume may find outsourcing better financially, especially for complex repairs like stator rewinding or magnet replacement.
Real Industry Examples:
- A mid-sized automotive plant cut servo downtime from 15 hours/month to under 9 by training technicians and using a dedicated servo motor test bench similar to those from Doumi.
- A packaging facility using Allen-Bradley servo drives, supported by local inverter part suppliers, saved 20% on repair costs annually by fixing connectors and brakes in-house while outsourcing major rewinding tasks.
ROI Calculator Overview:
To help decide, use lightweight ROI calculators available in many servo repair guides. Input your average repair volume, downtime cost per hour, and repair turnaround times to estimate savings. This tool clearly shows when investing in items like insulation resistance testers or surge testing equipment pays off versus outsourcing expenses.
For detailed part sourcing that supports your in-house repairs, consider trusted distributors of components like Allen-Bradley inverter parts or Siemens servo modules to ensure quick access to quality replacements.
In short, in-house repairs can save money and boost uptime if you commit to the right tools, training, and preventive maintenance. Outsourcing fits better where technical complexity or volume is low. Use data and ROI tools to make the smart choice for your business.